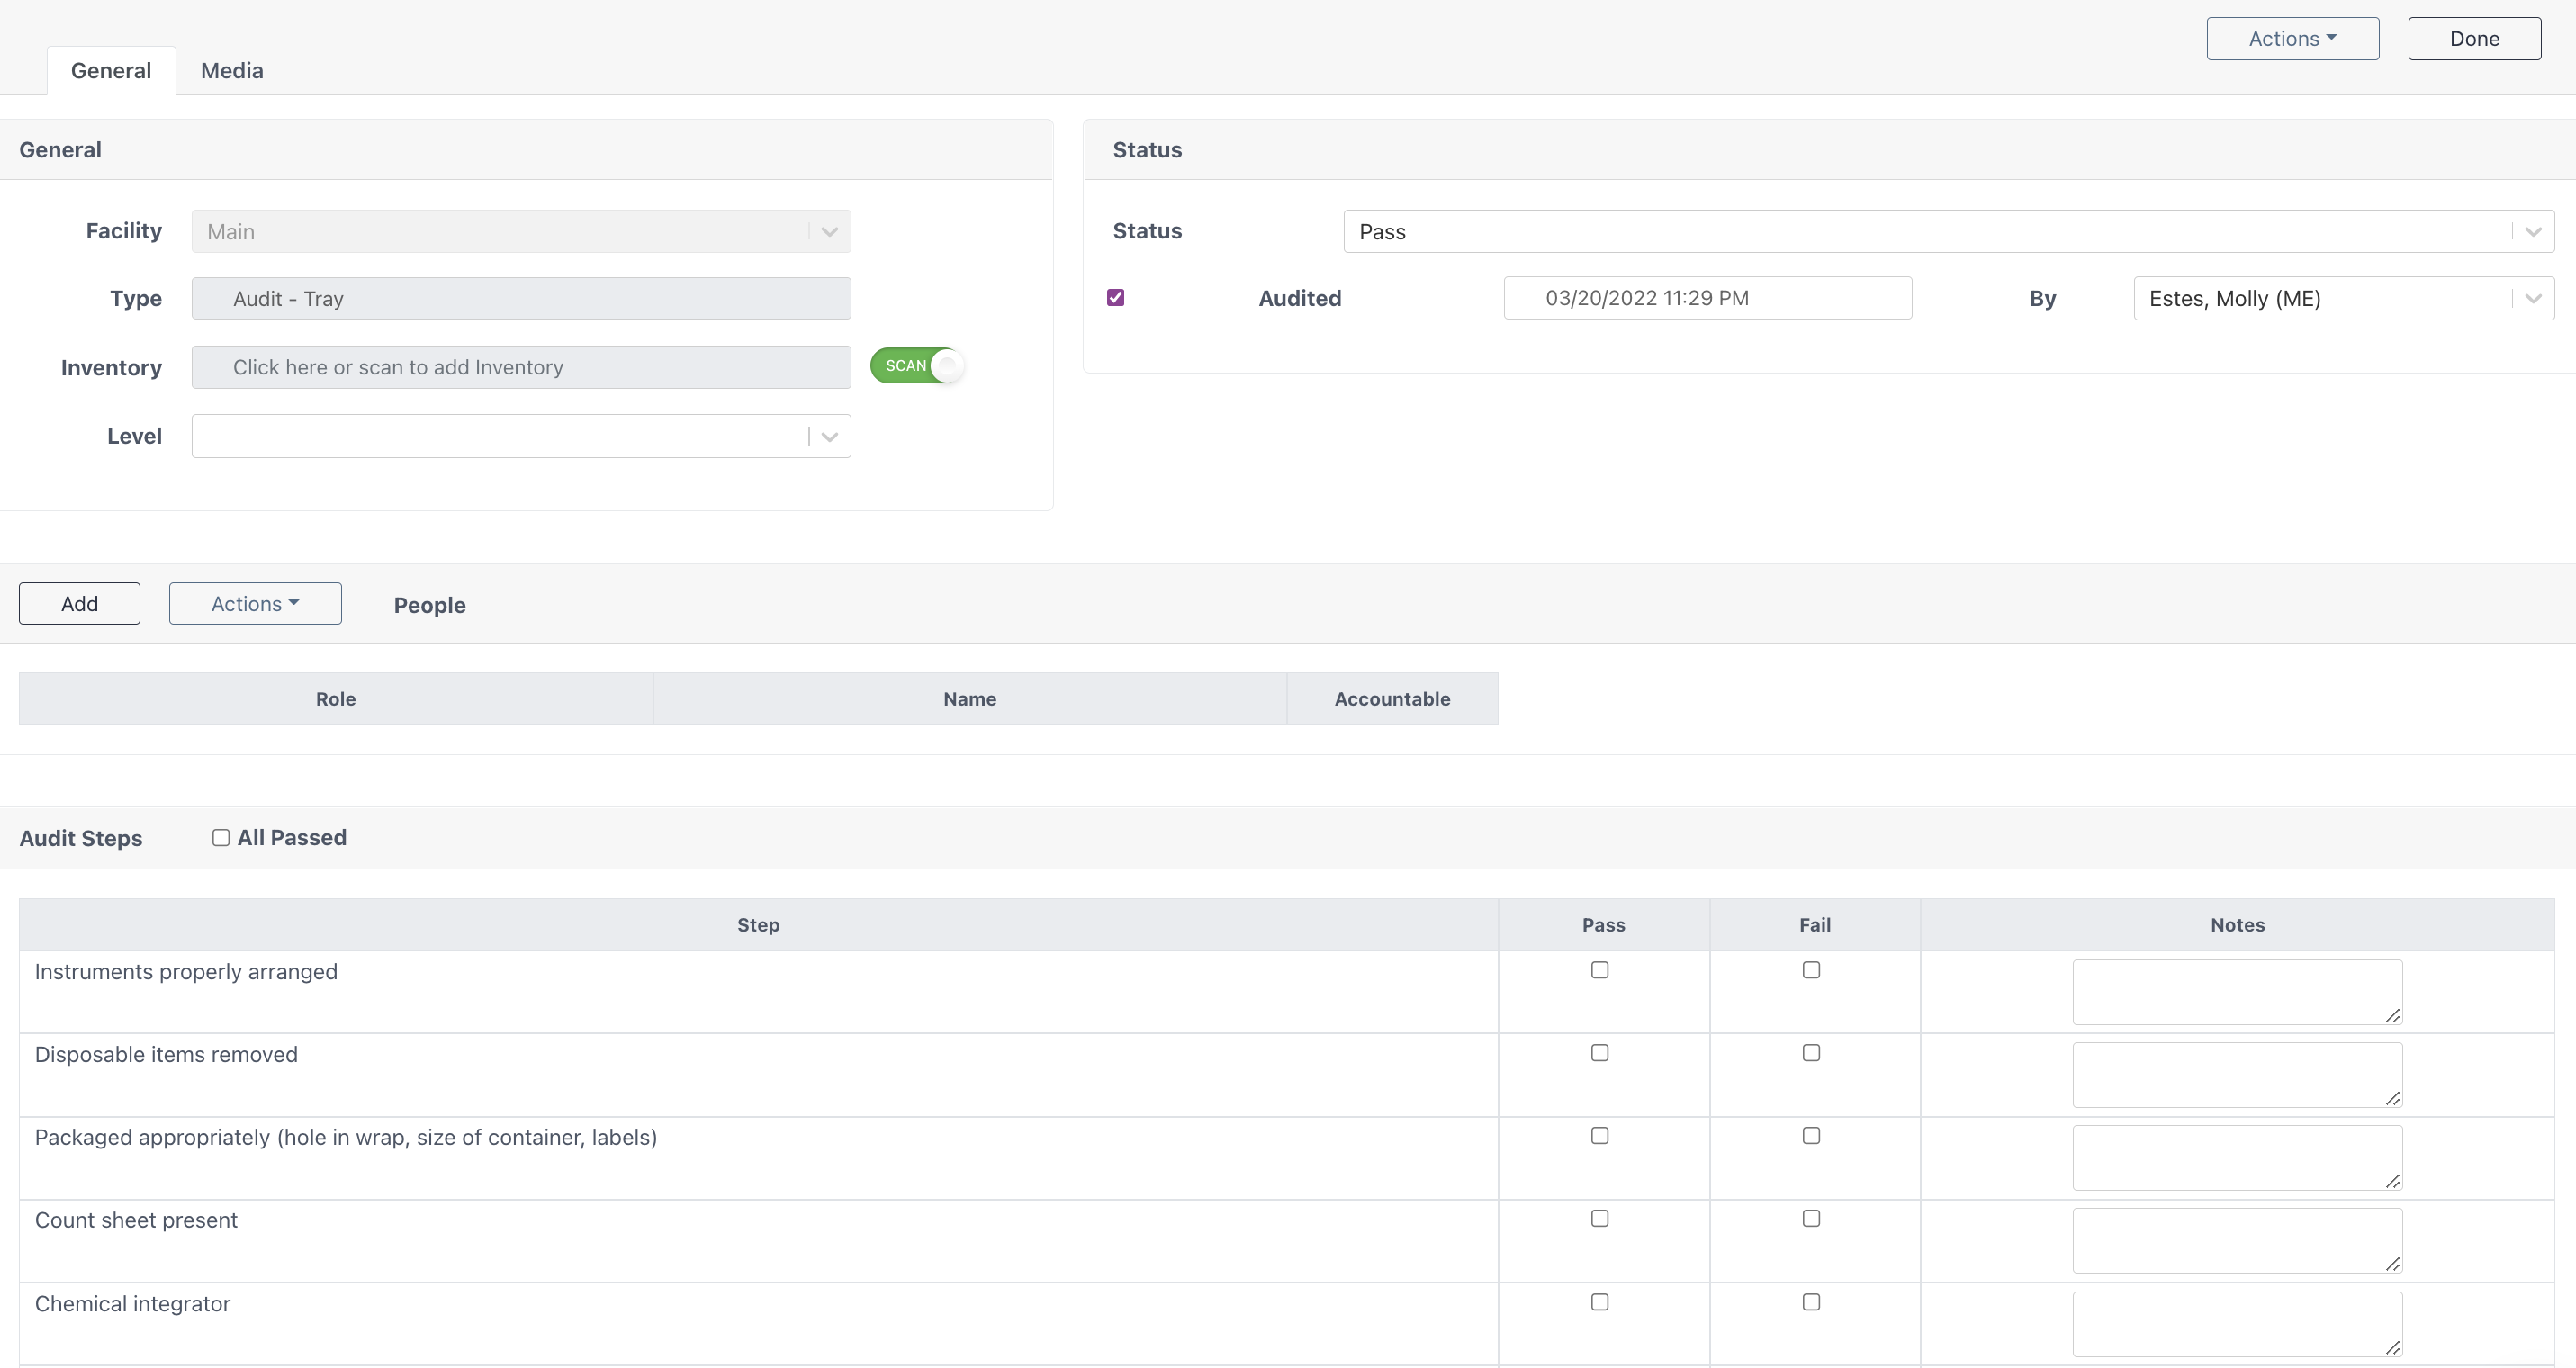
In this section, learn how to record a new quality audit in the Quality Module.

Top Buttons

Actions
-> Delete: Delete the current quality audit
-> Cancel: Go back to the Audit Home Screen without saving any changes
Done
Save changes and return to the Audit Home Screen
General Area

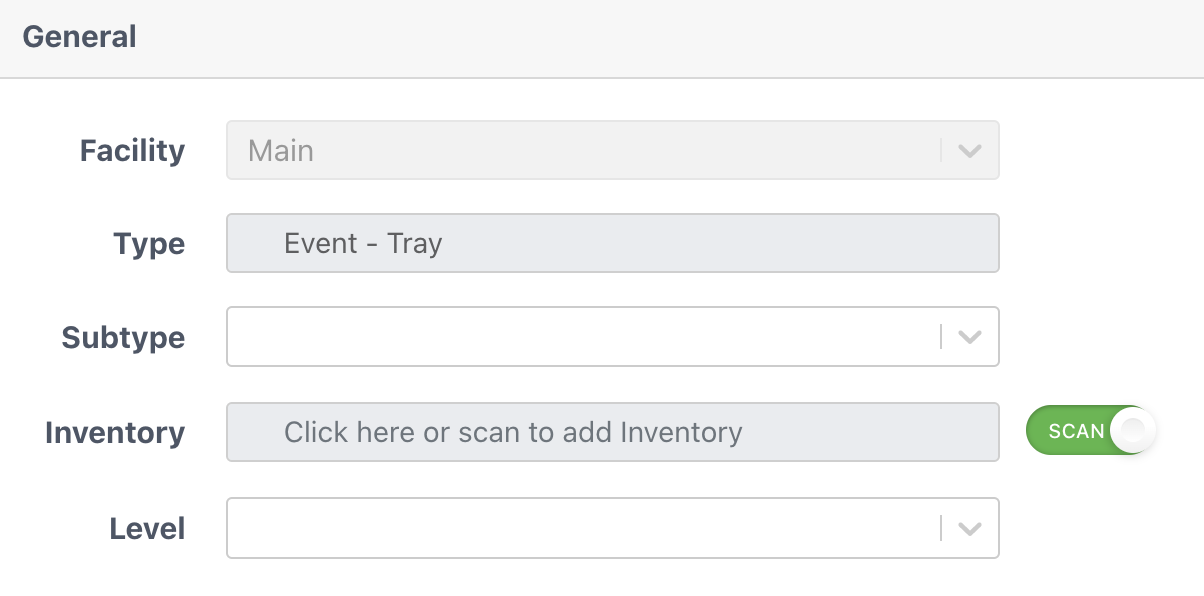
Facility
The facility is automatically filled in based on the location you are currently located at. This is based on the location listed under your name in the top navigation bar.
Type
This entry is automatically filled in based on the selection made with the Add button on the Audit Home Screen.
Inventory
Scan or Add the associated tray. To add manually, click the text box to open the manual add window.
Level
Audits can be grouped during configuration into larger buckets. The Levels describe what could have happened if the audit was not conducted. Level types are:
- OR Infection - Failed audit means the catch could have resulted in patient infection
- OR Hurt -Audit failure means the catch could have resulted in patient injury
- OR Delay -Audit failure could have resulted in a delay to the procedure
- SPD Hurt -Failed audit means the catch could have resulted in SPD technician injury
- SPD Delay - Audit failure could have resulted in a delay to SPD processes
People Area
Once an item is scanned or a specific inventory is selected, Sonar will automatically fill in row(s) based on the tray history. These selections can be added to and modified as needed. This section is where the technician(s) related to the event are specified.

Add Button
Click to add a new row to the People table.
Action Button
-> Delete: Delete the selected row
Role
Select or change the position of the user associated to this audit.
Name
Select or change the name of the user associated to this audit.
Accountable
If this audit is assessing the work of this user, check this box. The audit will show up in Coaching Events associated to this user if it is failed.
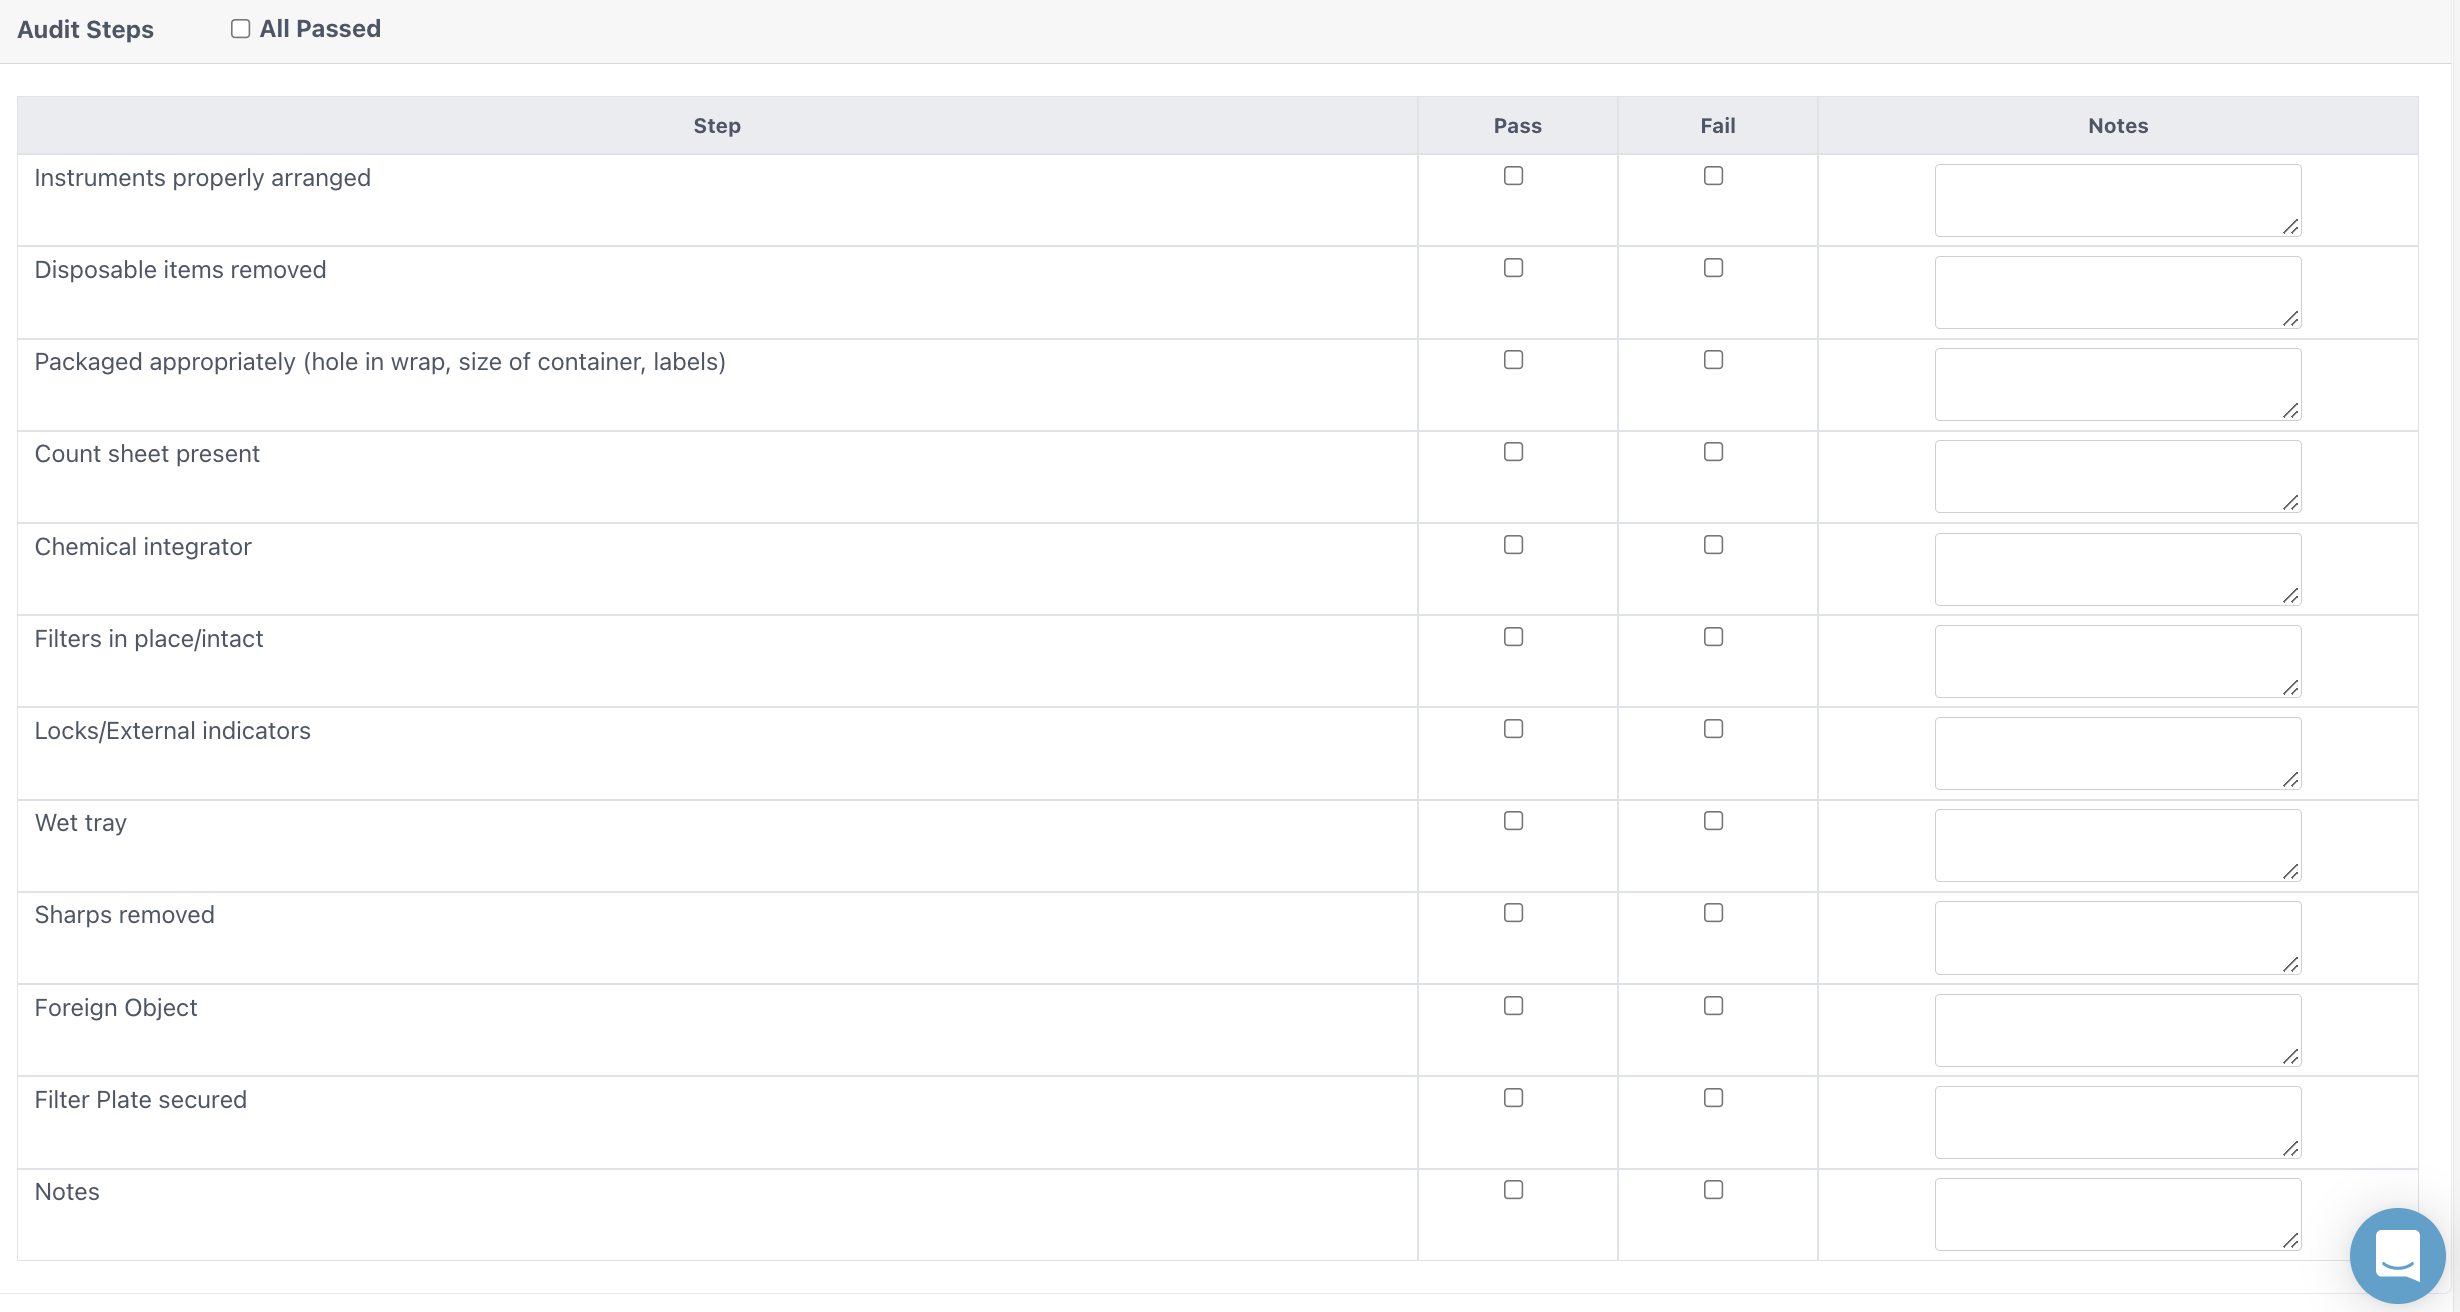
Audit Steps
Move down the list assessing the subject of the audit carefully. If an audit step is not satisfied, fail that step. Otherwise mark it as passed. If all of the steps have been passed, it is possible to check all of the boxes at once. Simply click the All Passed option at the top of the section. Specify any notes for each of the steps as needed.
Status
The status of the audit is used for managing the audit as it is recorded and processed. It can be used as a communication tool to make sure everyone stays on the same page.

Status
- Pass - All of the audit steps have been passed
- Fail - One or more of the audit steps have been failed
