In this section, learn how to navigate and use the Decon Module home screen.
While in the Decon Module, try out Quick Change! Simply scan your badge to switch to your profile if someone else is logged in already.
Buttons


Section Headers
When navigating the Decon module, staff can select or scan whichever area of Decontamination they would like to scan items to.
Scan
When the Scan button is on (green), you may scan a permanent or production label to add it to decon.
Add
Manually add a tray or pack to decon.
Remove
Select a tray(s) and remove it from decon. This would be used if a tray was accidentally added to decon; it is not for removing trays that are no longer in decon.
Scan History Viewing Time
Sonar defaults to a two hour Decon Module scan/add history on the home page. If a user would like a different quantity of time or to view a specific time range from the past, select Custom and fill in accordingly.
Search by Name
Search for a tray that was scanned to decon over the applied time range. Enter any part of a tray name or the entire name to find it.
Dashboard and Sorting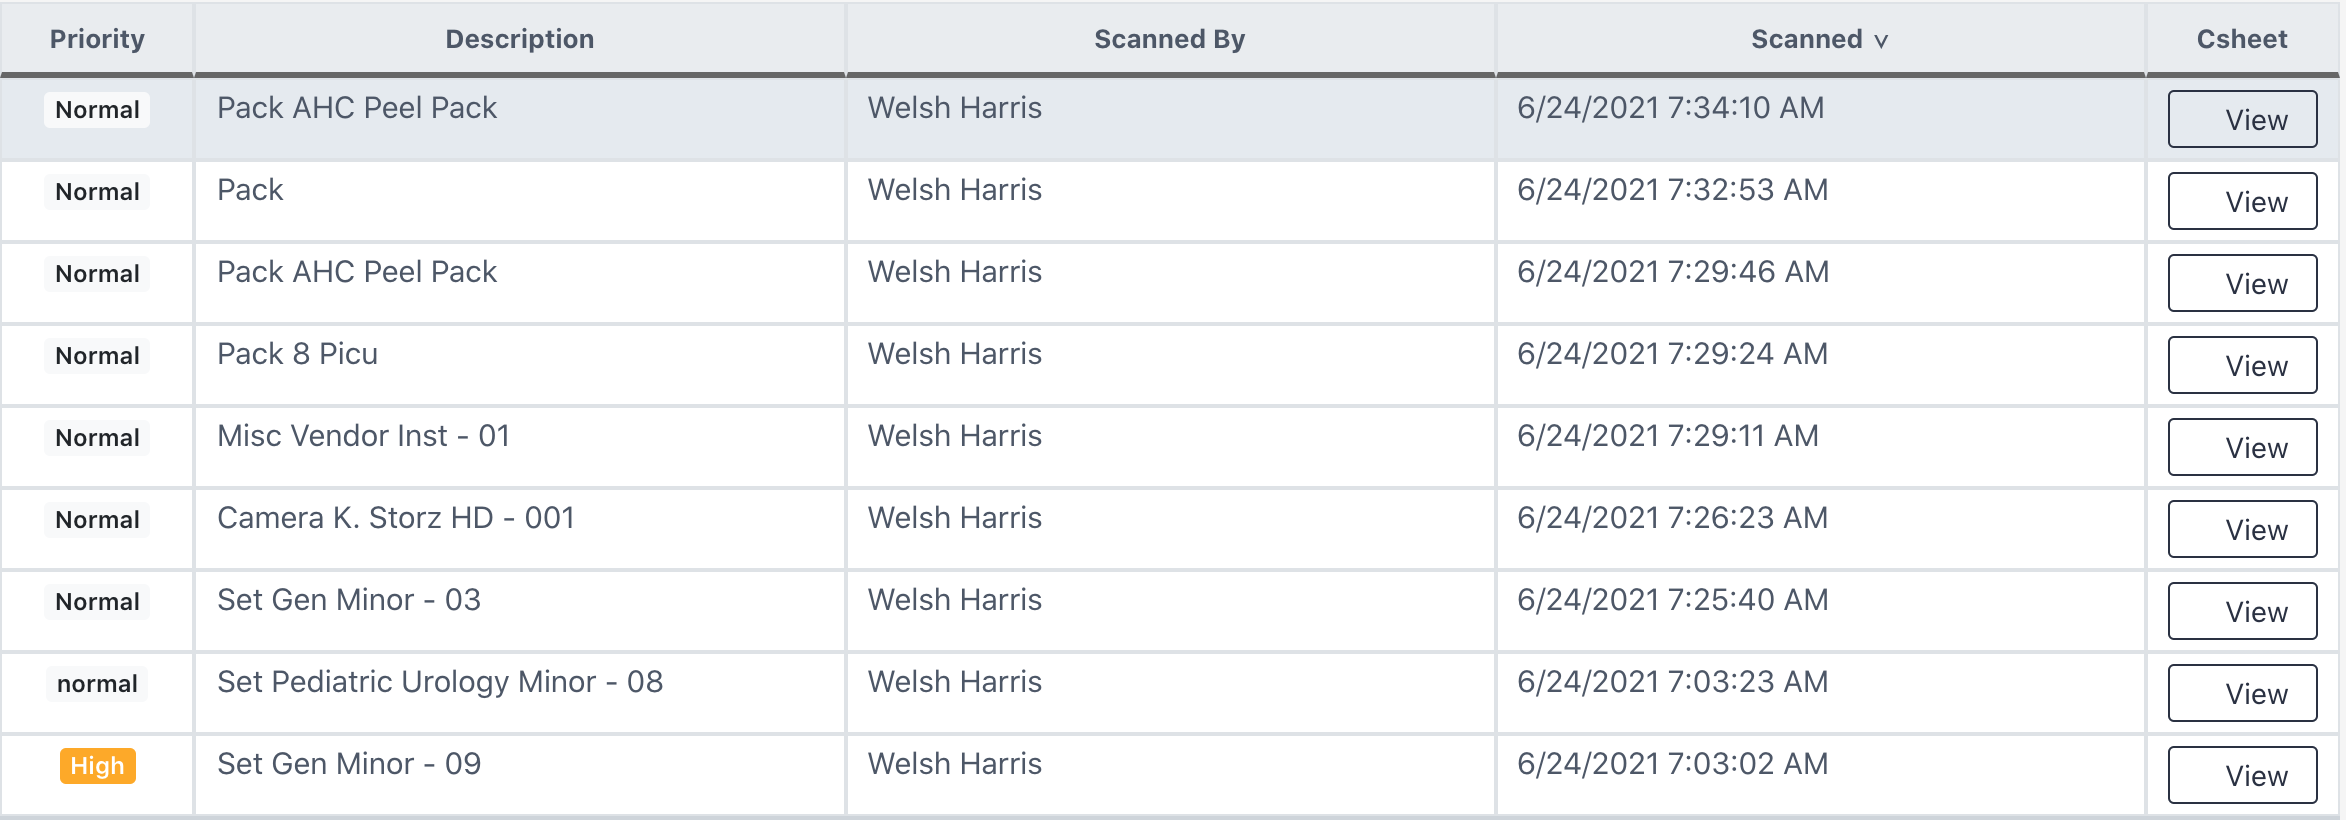
Scans and manual additions of items to the Decon Module are added to the dashboard and sorted by the time of the addition. A user may choose a different sort option by clicking on any of the column headers (Priority, Description, etc).
Double click on any of these to view the item count sheet, inventory, and media.
Path & Special Instructions
Facility-based directions will appear upon scanning or manually adding items to decon. You may also view these instructions after other items have been scanned by clicking on the item on the dashboard.
Path
Facility instructed decon reprocessing pathway for the item.
Special Instructions
Facility instructed decon notes and tips for the item.