In this section, learn how to deliver items to locations.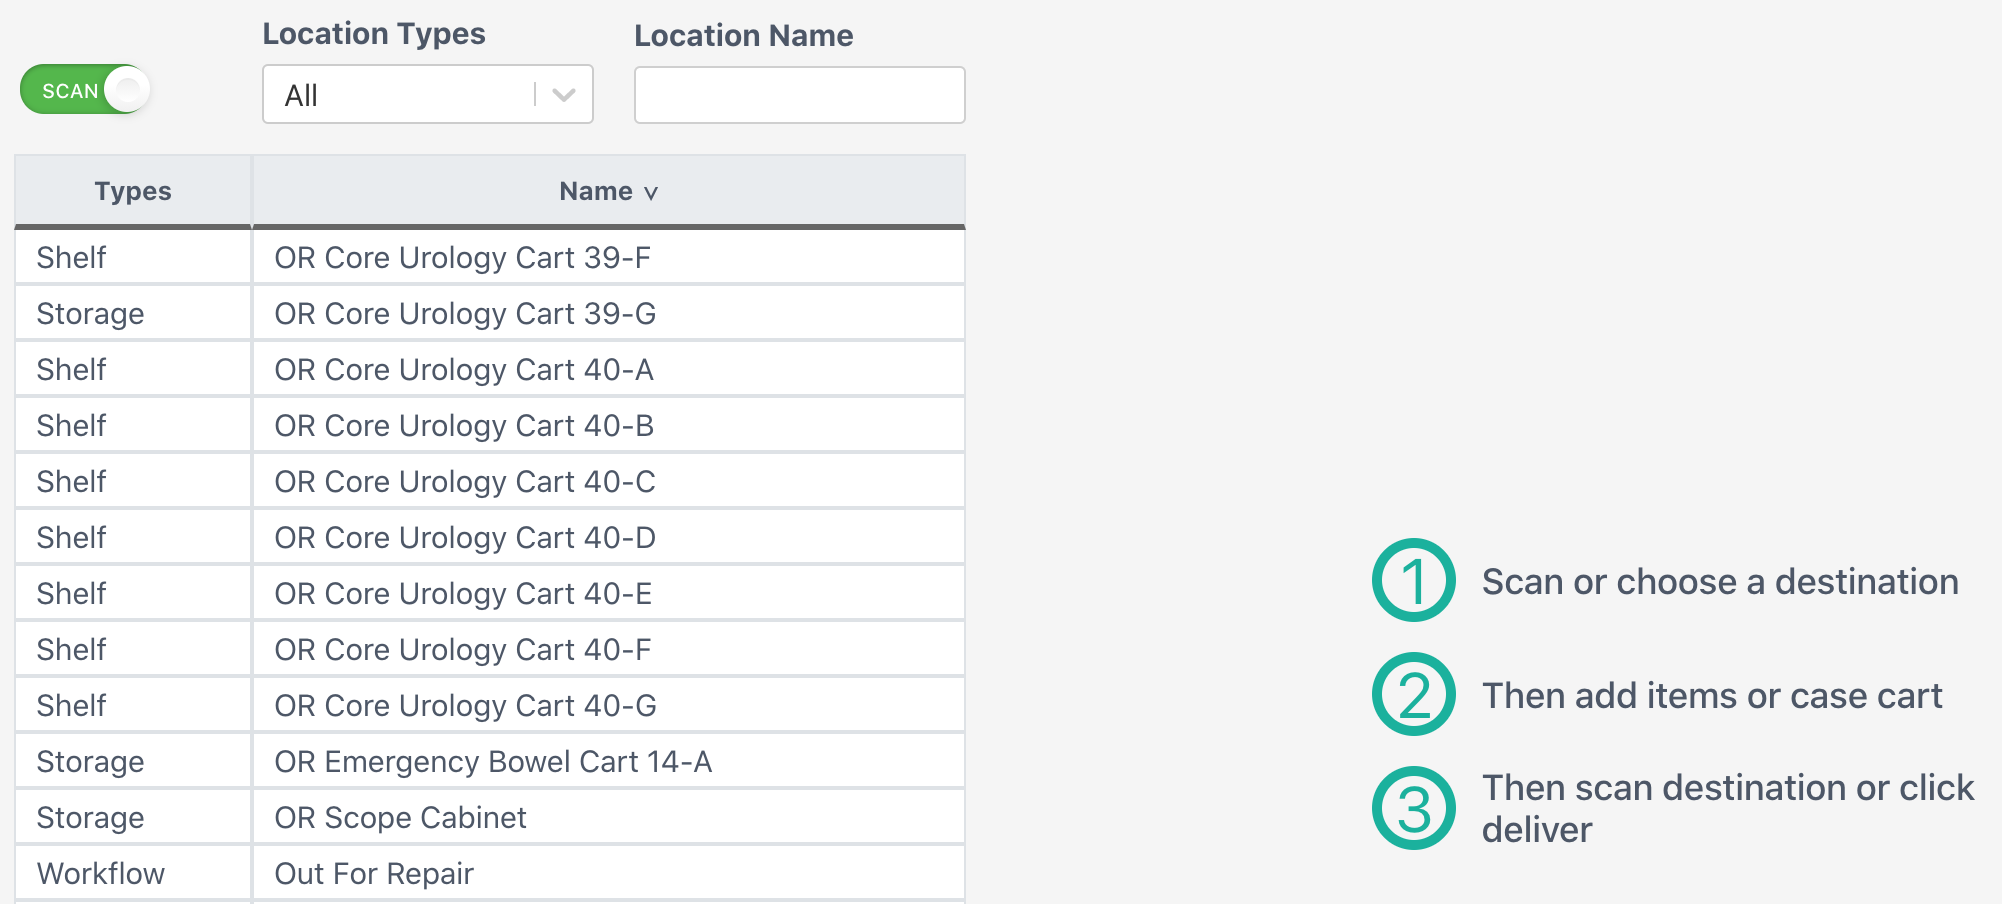
Just Follow the Steps!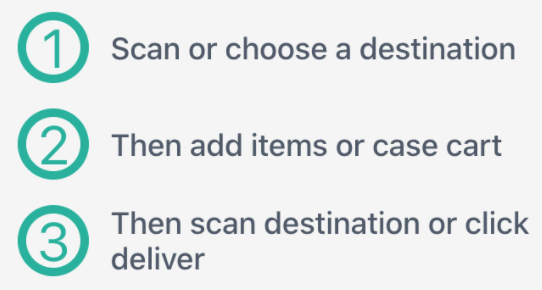
1. Scan or select a destination
Scan a clinic, department, or location barcode to auto-select that destination for delivery
or
Choose a destination by selecting a location from the table. Use the filters provided for a quicker search.
2. Then add items or case cart
Add items by scanning their production or permanent barcodes
or
Manually add items by selecting Add and searching for the item.
As the user scans / manually adds items, the items (and inventory numbers if applicable) will populate on the screen.
3. Then scan destination of click deliver.
After adding an item(s) to a location:
Scan the clinic, department, or location barcode again to deliver the items
or
Click the Deliver Button.
Delete an Item from a Delivery
Delete Button
Select an item and then select Delete to remove it from the delivery.
Reset Button
Clears the delivery of all items scanned and the location selected.
If the mistaken delivery is part of a workflow rule such as Out for Repair, which resets the usages of the item inventory, then the user should contact Ascendco Support for a correction.