In this section, learn how to record a new quality event in the Quality Module.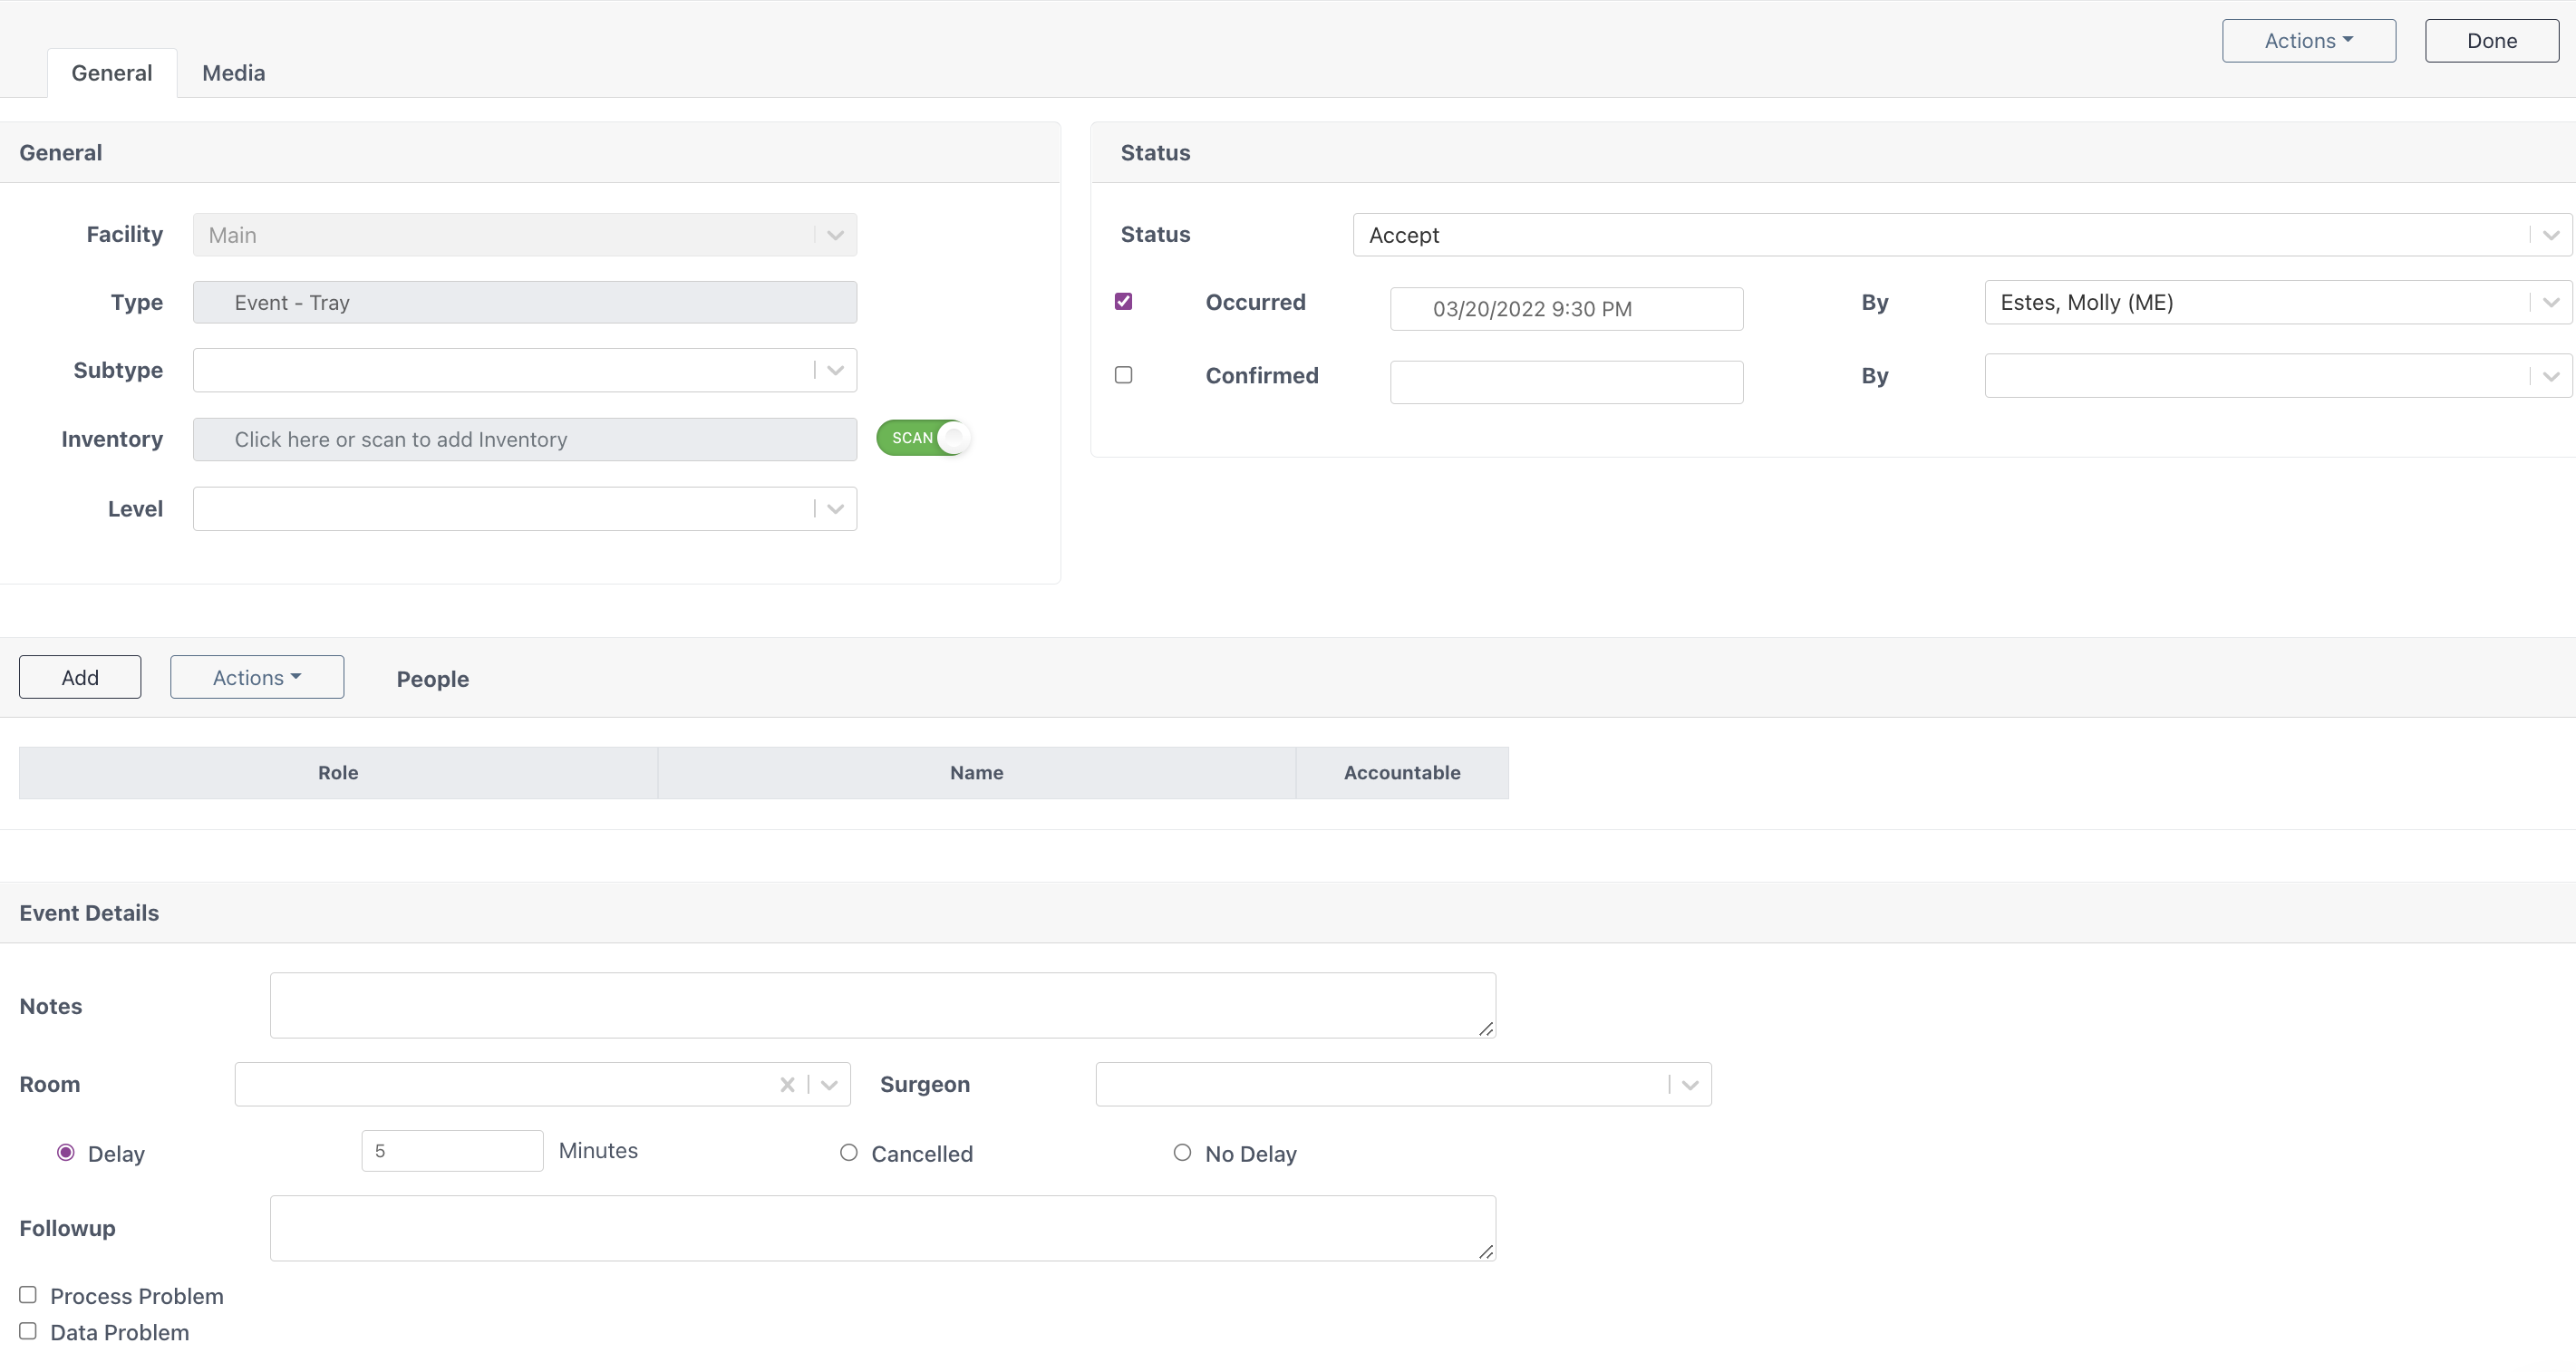
Top Buttons

Actions
-> Delete: Delete the current event
-> Cancel: Go back to the Events Home Screen without saving any changes
Done
Save changes and return to the Events Home Screen
General Area
Facility
The facility is automatically filled in based on the location you are currently located at. This is based on the location listed under your name in the top navigation bar.
Type
This entry is automatically filled in based on the selection made with the Add button on the Events Home Screen.
Subtype
Select from the predefined options to describe the event that has occurred.
Inventory
Scan or Add the associated tray. To add manually, click the text box to open the manual add window.
Level
The Event Subtypes are grouped during configuration into larger buckets. Select a Level to filter the list. Level types are:
- OR Infection - Event resulted in or could result in patient infection
- OR Hurt - Event resulted in or could result in patient injury
- OR Delay - Event resulted in a delay to the procedure
- SPD Hurt - Event resulted in or could result in SPD technician injury
- SPD Delay - Event resulted in a delay to SPD processes
People Area
Once an item is scanned or a specific inventory is selected, Sonar will automatically fill in row(s) based on the tray history. These selections can be added to and modified as needed. This section is where the technician responsible for the event is specified.

Add Button
Click to add a new row to the People table.
Action Button
-> Delete: Delete the selected row
Role
Select or change the position of the user associated to this event.
Name
Select or change the name of the user associated to this event.
Accountable
If this event resulted from the error of this user, check this box. When a Coaching Event is created for a user in the Quality>Coaching tab, all quality events associated with the user will show up automatically.
Event Details
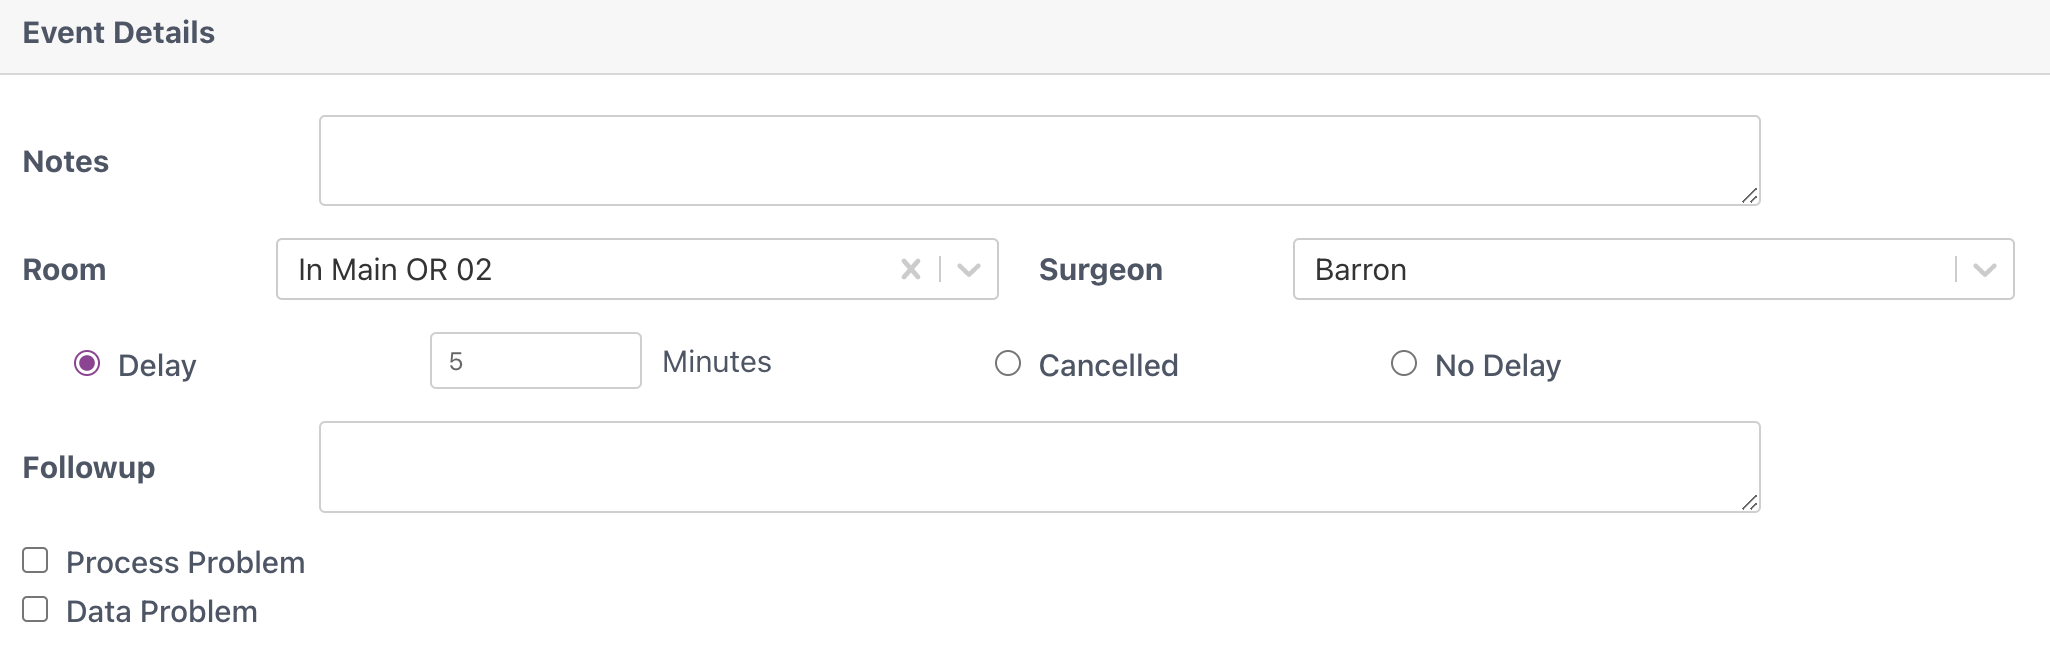
Notes
Any additional information that needs to be included with the record of this event can be added here.
Room
Choose the specific location of the surgery.
Surgeon
Select the surgeon who was performing the surgery.
Delay
- Delay - Enter the number of minutes the surgery was delayed due to this event. Note that the default is 5 minutes
- Canceled - This case was canceled due to this event
- No Delay - This surgery did not have any delays due to this event
Followup
Record any information about the followup that occurred related to this event. Describe what was done to resolve the issue or mitigate the occurrence of the event in the future. Sometimes the event was not associated to the fault of a specific data issue or process breakdown. Check one of the boxes to signify a problem like this has caused the event.

Status
The status of the event is used for managing the event as it is recorded and processed. It can be used as a communication tool to make sure everyone stays on the same page..png)
Status
- Occurred - Events that have not been accepted or investigated yet. They have simply occurred
- Accept - Leadership has reviewed these events and completed any necessary investigations or follow ups. Note this is the default selection
- Appeal - There is some confusion or disagreement related to these events. Most likely needs further discussion with OR and SPD leadership
Occurred
The date and time are filled in automatically as soon as the event is created. The person who is creating the event will also be filled in. The information here can be adjusted as necessary.
Confirmed
Once the event has been investigated