In this section, learn how to document picking a case cart.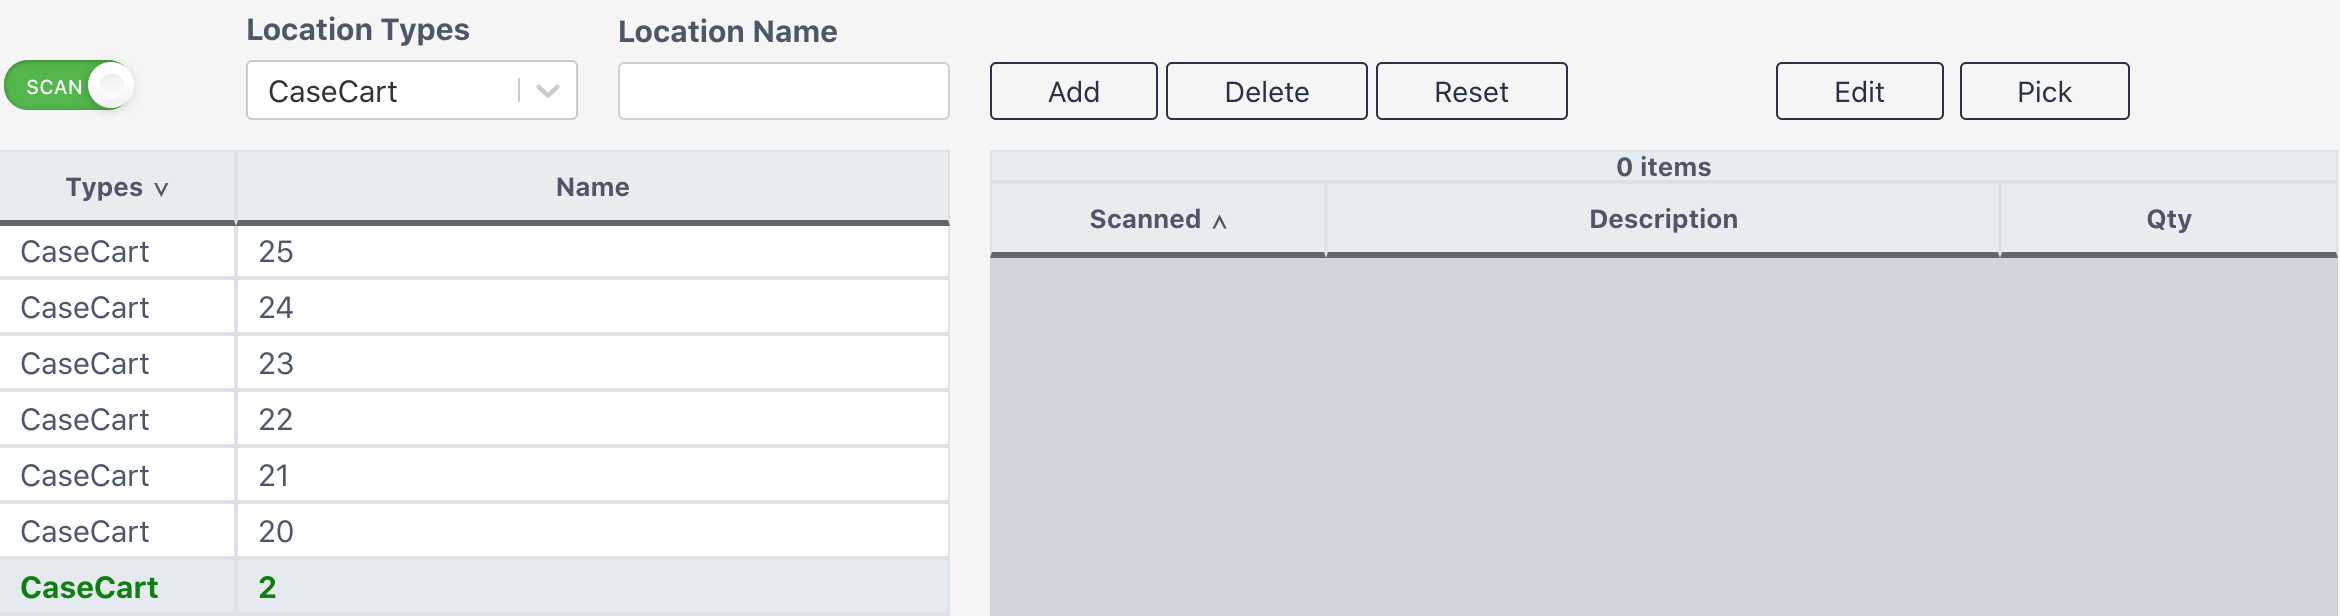
Add Items to a Case Cart
As with all deliveries,
1. Select / Scan a case cart.
2. Scan / Manually Add items.
3. Rescan Location Barcodes / Select Deliver to deliver to items.
For a more detailed explanation, visit Deliver Items.
Pick the Case Cart
First, the user will want to complete the delivery of items to the case cart. Then select Pick.
Pick Button
Select to get started on picking a case cart.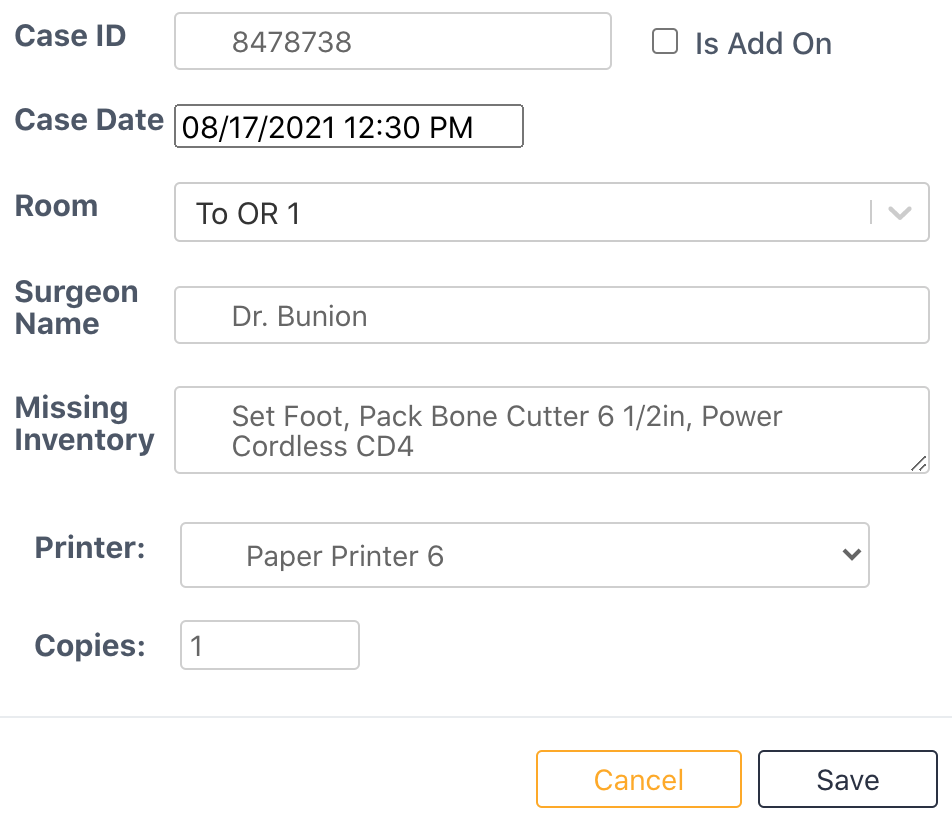
Case ID - Enter a case ID, found on the preference card for an individual.
Is Add On - Select if the case was an add on to the schedule.
Case Date - Select a case date and time.
Room - Select an OR or surgery location
Surgeon Name - Enter a surgeon name
Missing Inventory - Enter any items still needed for the case.
Printer - Select a printer to print the documented information (optional).
Copies - Select a quantity to print
Edit a Case Cart Pick
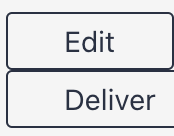
Once a case cart has been picked, delivering additional items to a case cart will pull up the pick screen with an option to remove any of the documented missing items. This can also be done without delivering items by selecting Edit.
Clear a Case Cart Pick
All information is cleared from a case cart pick upon the case cart being scanned in decon.
A user can also clear a case cart pick by selecting pick, entering new pick information, and selecting Save.